Campaign overview
APLOSE regroups annotations sessions as an Annotation Campaign. Each campaign is linked to a dataset and to one or more annotators.
A campaign can be configured to show different spectrogram configurations, annotate different label or even to validate detectors output.
All campaigns
You can view all your campaigns on the Annotation Campaigns page 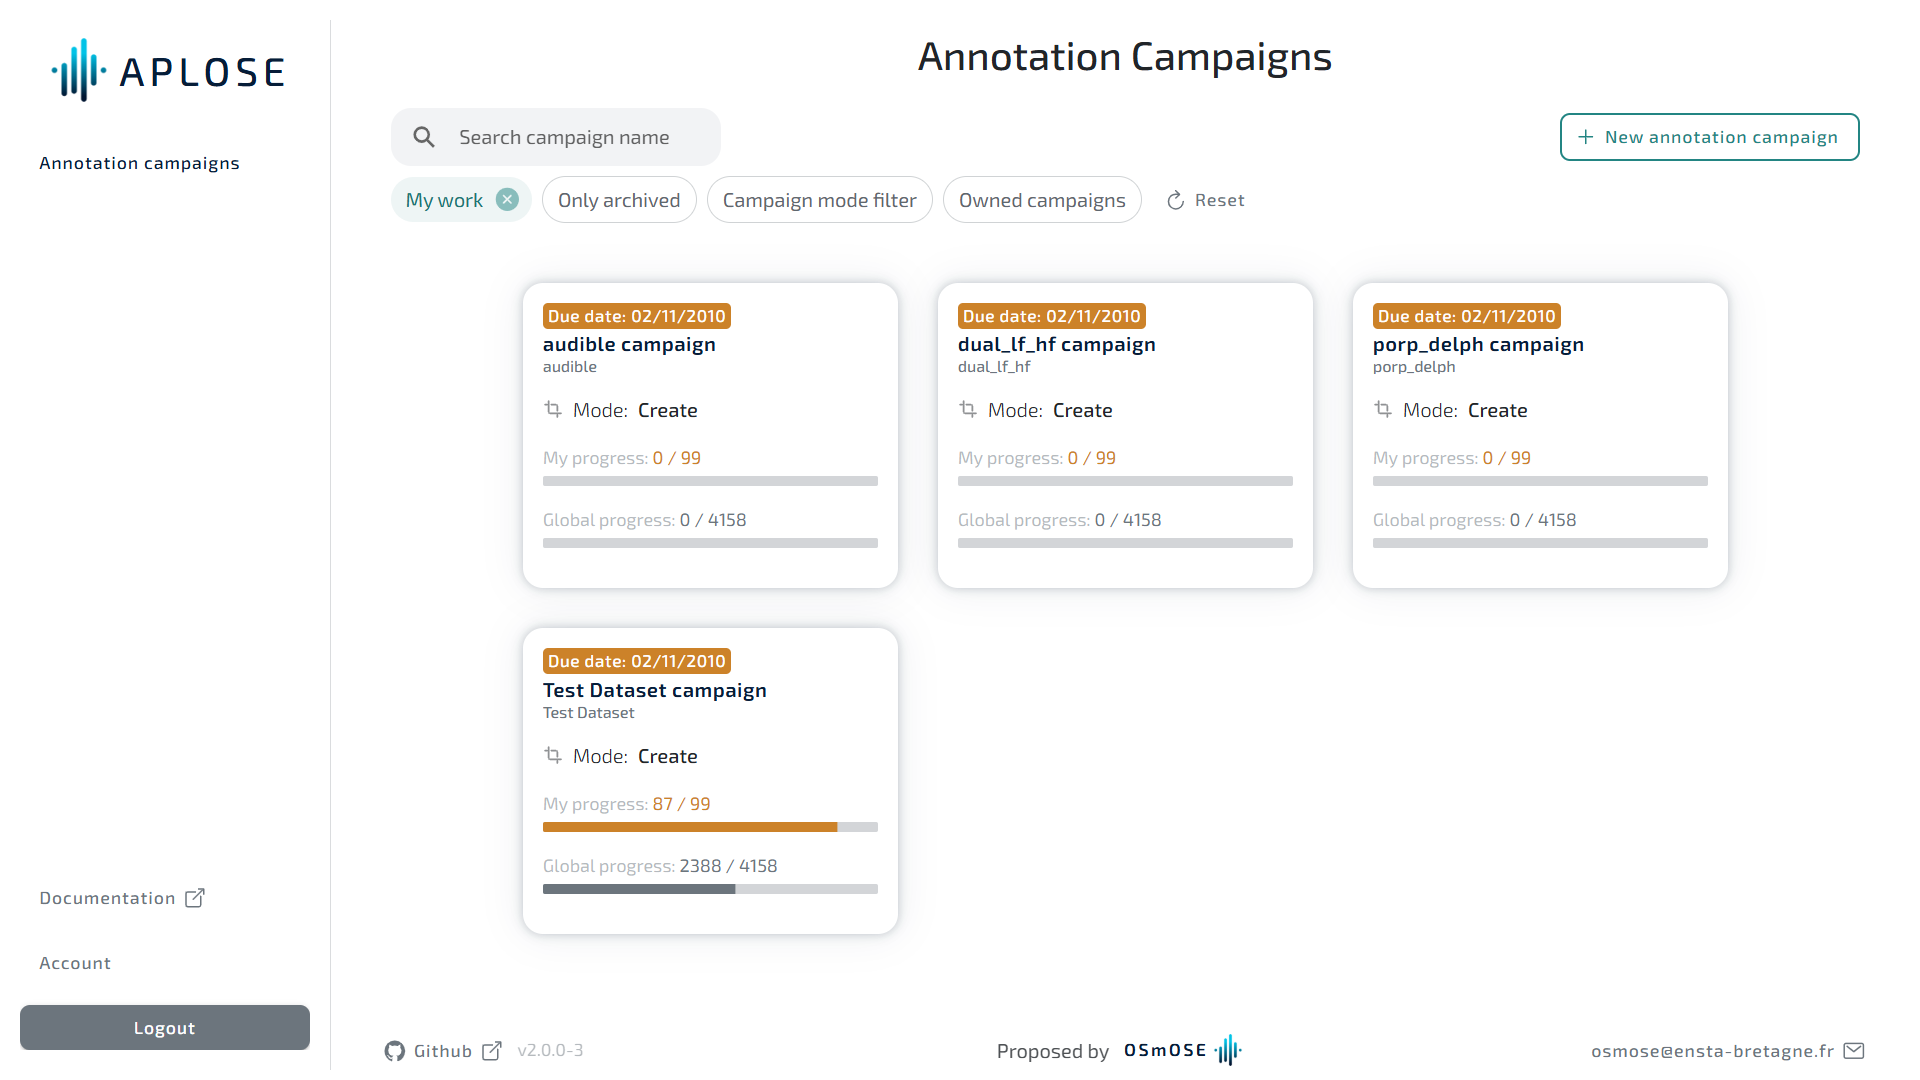
You can search a campaign by its name or filter the list my the mode: create annotations or check detectors output.
Each campaign is described by its name, the dataset to annotate, the mode (create annotations or check detectors output). Your progression and the global progression on the campaign is visible on each card.
You can access to the campaign detail by clicking on its card.
Campaign detail
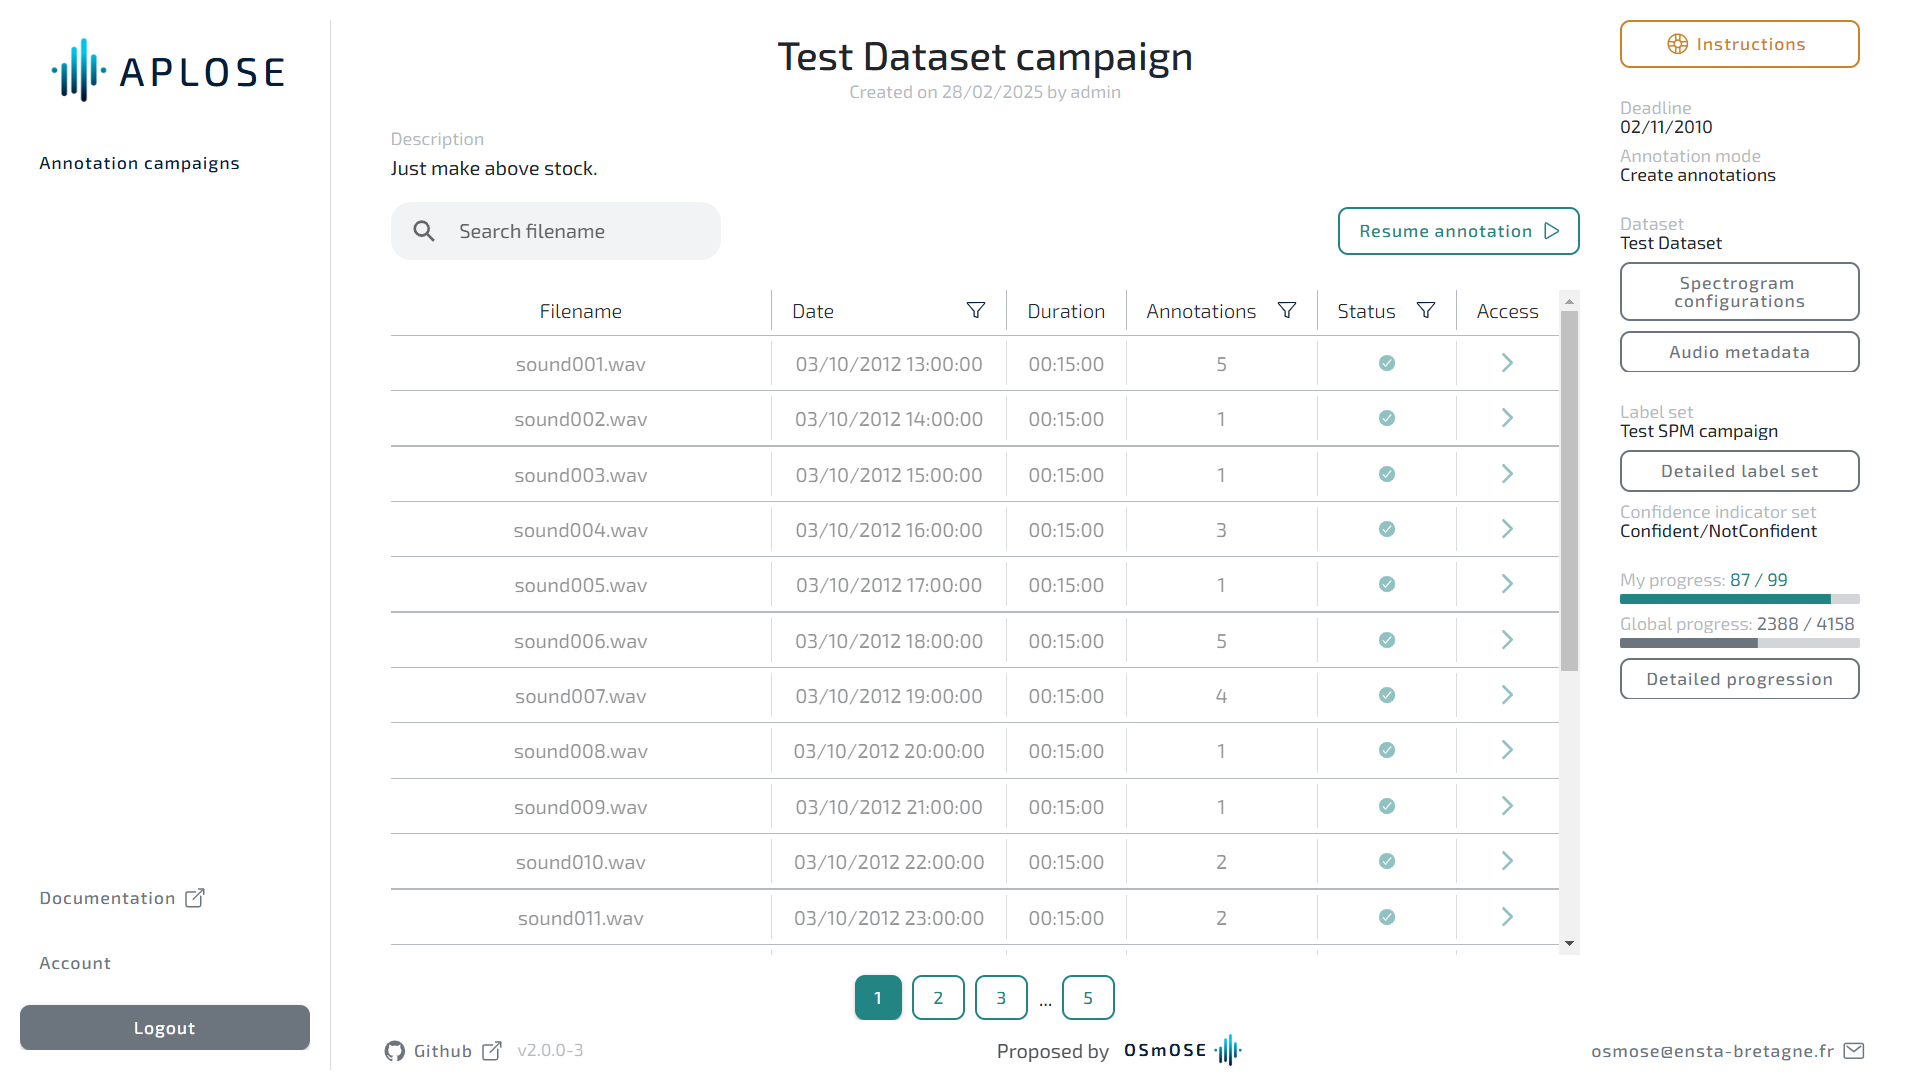
Campaign details
You can read here the purpose of the campaign on its description (if filled).
The right side panel display all the relevant information of the campaign:
| Information | Description |
|---|---|
| Deadline | The final date to annotate |
| Annotation mode | Either the campaign is made to create new annotations or to check detectors outputs |
| Dataset | Dataset to annotate |
| Acquisition information | Information around the data acquisition: project, deployment and equipment used |
| Spectrogram configuration | Parameters used to generate all available spectrogram. Can be used to recreate the campaign |
| Audio metadata | Metadata of the audio used to generate all available spectrogram. Can be used to recreate the campaign |
| Label set | Name of the label set used for annotation. The labels are used to describe each annotation. |
| Confidence indicator set | Name of the confidence indicator set. The confidence indicator allows the annotator to specify of he/she is confident or not about his/her annotation |
| Detailed progress | Shows the progression of each annotator within the campaign |
Annotation files

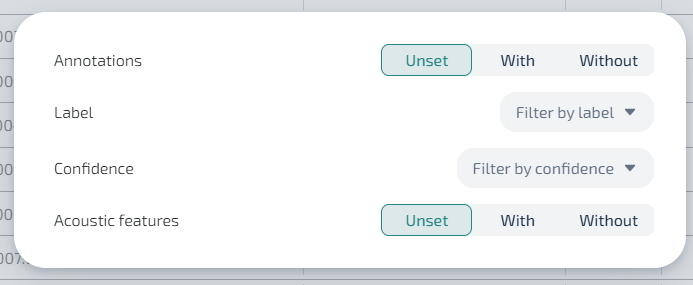
The page shows the dataset files you were assigned for annotation. You can search a specific file or only show non submitted files or only files with annotations. You can also directly resume annotation, this will take you to the first unsubmitted file.
The file table contains the following columns:
| Column | Description |
|---|---|
| Filename | Name of the file |
| Date | Start of the recording |
| Duration | Duration of the recording |
| Annotations | Number of annotations your created (in create mode) or number of detectors output to validate (in check mode) |
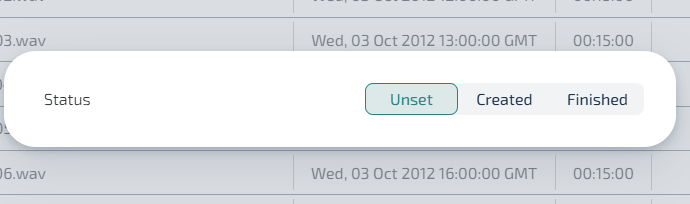
| Status | Either you submitted your work on the file |
| Access | A direct link to access the annotator |
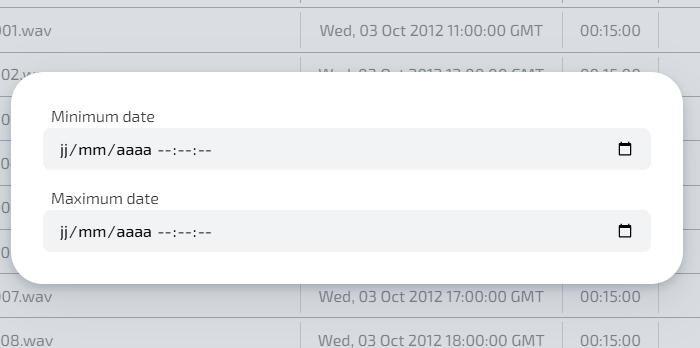
By clicking on the funnel icon on the file table header, you can filter files.
Date filters
Annotation filters
Status filters